

Hey lovely's, i've got a new nail tutorial to share with you. I no everyones starting to get into the feel of autumn with all the new season trends but i love summer and want to drag it out as long as possible, so i've done a pretty summery nail design. I thought i would try and do some roses and then i decided to mix it up a bit and add some polka-dots as well for a fun cute look.

What i used-
White base- BarryM, matt white,
Green base- Topshop, Gone fishing (sorry forgot to put in pic)
Pink rose colour- Essie, Maddison ave-hue,
Rose detail- Models own pen in Pastel purple,
Leaves- Models own pen in Pastel green,
Top coat- Nails Inc, Kennington caviar.
Nail dotters (could also use rubber end of a pencil, end of a hair grip or end of a make up brush to make dots)
If you don't own any nail art pens you can get the same effect using a toothpick dipped in nail polish to do some of the rose detail and the leaves.

Step one-
Paint two coats of the white polish on the middle and ring finger, paint the rest with two coats of the green polish.


Step two-
Using the large sized end of a nail dotter, dot white nail varnish onto the nails with the green base.

Step three-
To make the rose shape use the brush or a nail dotter to make blobs on the nail where you want the flowers they don't have to be neat circles slightly odd shapes will look more realistic.
Step four-
Using the smaller end of a nail dotter (could also use a toothpick) dipped into the white polish make small swirly c shapes inside the roses to look like petals.

Step five-
Using the purple nail art pen do the same thing again, make a few smaller swirly c shapes inside the rose.

Step six-
To draw the leaves on use the green nail art pen to draw a couple of triangles coming out of the roses.
When the nails are dry add a topcoat and ta da, the look is complete!
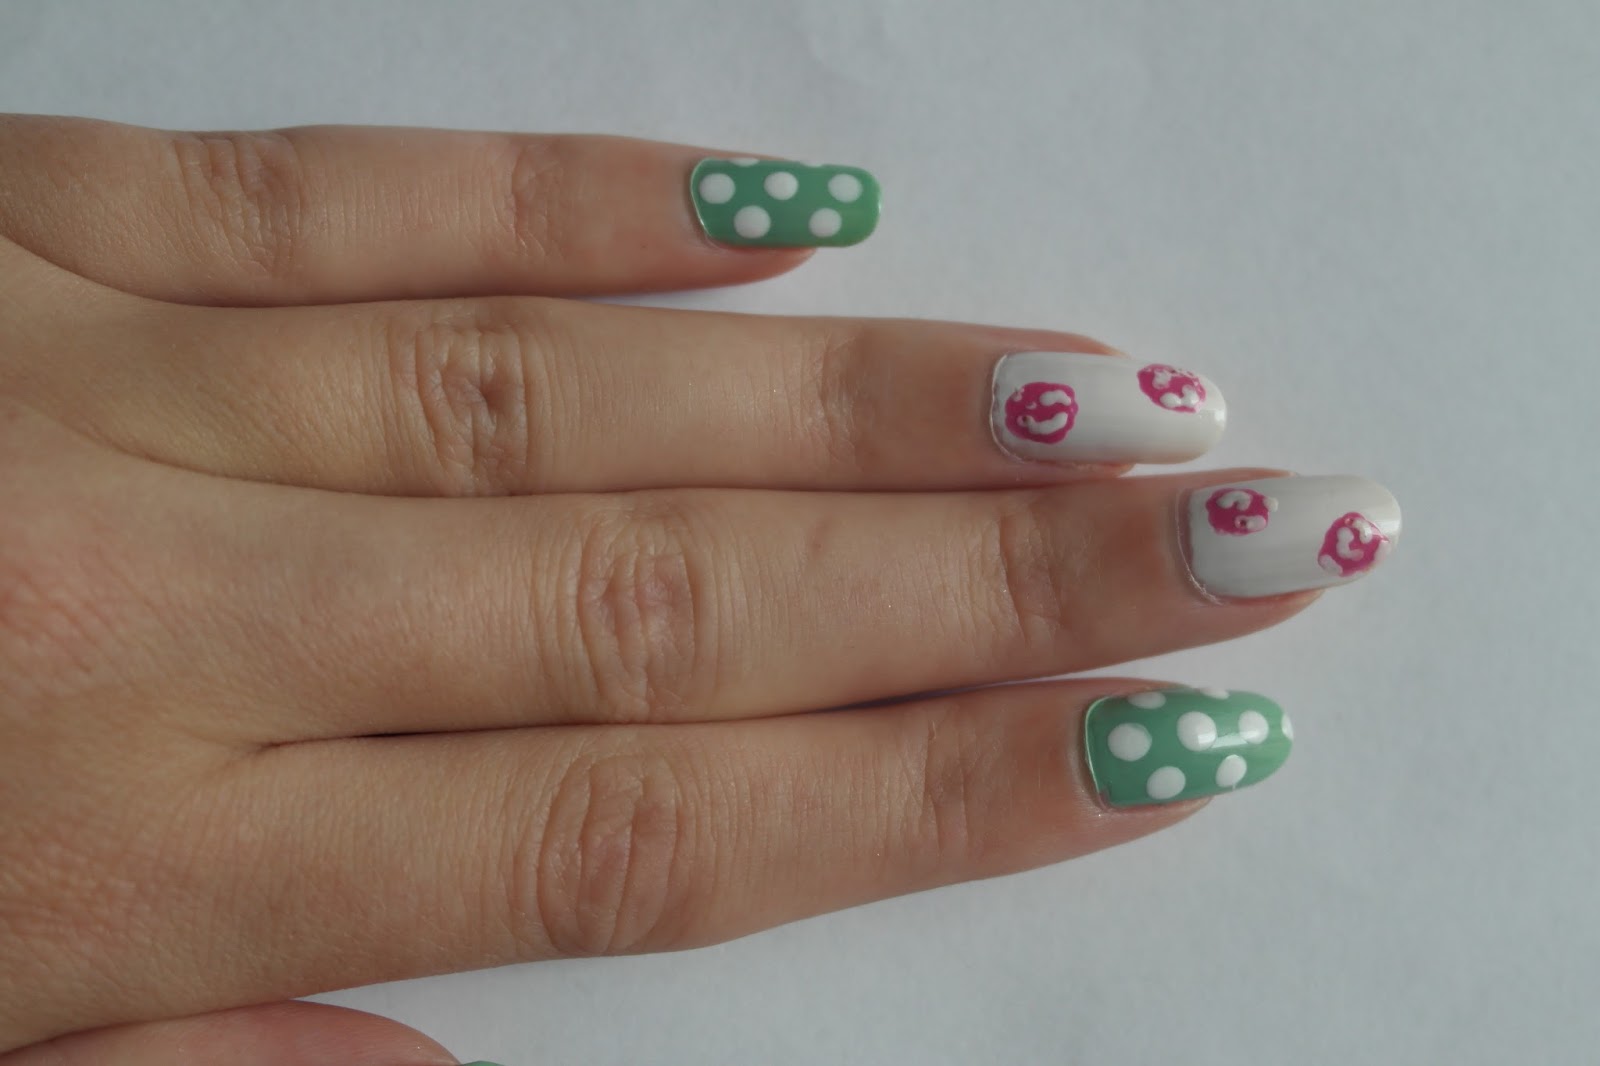
The finished look...

I hope you like this tutorial, the roses are really simple to do when you brake it down into steps. I hope it inspires you to have a go for yourself these are just the colours i fancied but it would look great with all sorts of colours, and remember if you don't have a nail dotter or any nail pens, things you can find around the house such as toothpicks and ends of make up brushes will work just as well.
Zoe
X
 Labels:
This was such a lovely post! Looks beautiful <3
ReplyDeleteIyana xx
http://iyananikita.blogspot.co.uk/
Thank you :) glad you like it. xx
Deletegorgeous!
ReplyDeletehttp://livedwithlove.com
Kerry X
Thank you :) xx
DeleteWow this is amazing! Btw Madison Ave-hue has been one of my fave colours of the summer.
ReplyDeleteAdela x
Misspinkstyle.net
Thank you, it is a lovely colour isnt it. xx
DeleteLove this hun! x
ReplyDeleteThanks lovely :) xx
DeleteAh these are seriously beautiful!! I wish I could do nail art without wobbling all over!!great post xx
ReplyDeleteThanks hun, you should give them a go i haven't got the steadiest of hands! xx
DeleteOh wow these look so good! I wish I had your patience to do them x
ReplyDeleteduggydimples.blogspot.co.uk
Thanks lovely :) xx
Delete