Showing posts with label nails inc. Show all posts

Easy Valentines Heart Nail Tutorial

11 February 2014


Hello lovelies, i haven't done nail tutorial in a while i think my last one was my Christmas nail tutorial so i think this is well overdue! I knew i just had to do a Valentines nail tutorial, its the perfect excuse for me to do something super pretty and girlie. 
This is probably the simplest tutorial i've done, you don't need a really steady hand or any tools, it is definitely easier than it looks so definitely have a go. 

What you Need-
2X Nail polish, light pink and a darker pink, i used Nails Inc. Elizabeth Street and Wellington Street.
1X Glitter polish (Optional) I used Bourjois Rainbow Apparition. 


Step 1-
Paint two coats of your base pink, i think it works best to use the lightest colour as the base, allow to dry.
Step 2- 
Using the brush of the darker pink dab two dots onto the nail, spaced equally apart halfway up the nail.
Step 3-
Place the brush over each dot and drag down to the tip of the nail in a v shape to make the heart.  
Step 4-
Allow the hearts to dry, if they are a bit wonkey or uneven carefully go over them again to even out the heart.
Step 5- 
Add a glitter polish over the hearts for a pretty finish, let it dry and add a topcoat to seal and make it last longer. 

And its that easy!! I hope you enjoyed my Valentines Nail Tutorial.

Today is the last day to enter my Sleek giveaway so if you haven't already you can enter that here

Also i have entered the We Love Fashion Fashion Blogger competition to win tickets for London Fashion week please vote for me here

Zoe
X

Christmas Nail Tutorial

14 December 2013


Hey lovelies, I'm finally getting into the festive spirit of things and so i thought i would do a christmas nail tutorial! I wanted to go for something fun and so i picked a few of my favorite christmas characters, i've done something different on each nail but i've shown the steps for each separate nail design so you can do five of the same/different or mix and match your favorites!


The Kit-
This is what i used for the nails designs,
Nail pens- Models Own nail art pens in, Black, White and silver.
Nail Dotter,
Topcoat- Nails Inc Kensington Caviar Topcoat.
Nail Colours- BarryM Matt White, Rimmel Black Out, Essie Not just a pretty face, BarryM Blueberry, Rimmel Sunshine, Nails Inc Jermyn Street, Nails Inc Bennett Street, BarryM Vanilla, BarryM Mango. 


Snowflake Nail
Step 1- Pant two coats of the blue polish and let it dry.
Step 2- Using the striper part of the white nail art pen (could also use a small makeup brush dipped in polish) draw a cross at the tip off the nail.
Step 3- Draw a line through the cross to make the six sided snowflake shape.
Step 4- Draw two small dashes coming off the end of the six lines.
Step 5- Using the nail dotter in white polish, dot on some snow across the rest of the nail.
Step 6- using the silver nail art pen make small dots in the remaining spaces.


Penguin Nail
Step 1- Paint on two coats of the black polish, allow to dry.
Step 2- Take the white polish and paint from the middle to the tip of the nail white, leaving the sides black, let it dry and go over again.
Step 3- Using a nail dotter dipped in white polish make two large dots for the eyes, let it dry.
Step 4- Using the smaller end of the nail dotter dipped in black polish dot on the center of the eyes.
Step 5- Using the nail dotter dipped in yellow polish dot on three dots in a small triangle and fill in the middle to make the beak. 


Rudolph Nail
Step 1- Paint on two coats of the brown polish, allow it to dry.
Step 2- Using a nail dotter dipped in red polish dot on a large circle for the nose.
Step 3- Using the nail dotter dipped in white polish make two large dots for the eyes, let them dry.
Step 4- Using the smaller end of the nail dotter dipped in black polish dot on the center of the eyes. 
Step 5- Using a nail dotter dipped in a lighter brown polish dot and drag two lines for the antlers with two smaller lines coming off them. 


Snowman Nail
Step 1- Paint two coats of the white polish, allow to dry.
Step 2- Using the large end of the nail dotter dipped in black polish dot on the eyes.
Step 3- Using the nail dotter dipped in orange polish dot on three small dots in a long thin triangle shape for the nose and fill in.
Step 4- Using the small end of the nail dotter dipped in black polish dot on the stones for the mouth in a semi circle shape. 


Father Christmas Nail
Step 1- Paint on one coat of white polish as a base to make the skin colour stand out, allow to dry.
Step 2- Paint on 1-2 coats off your pink polish, let it dry.
Step 3- Paint a stripe of red polish along the base of the nail.
Step 4- Paint from the middle of the nail down to the tip white, with two slightly longer bits at the side for his beard.
Step 5- Using the nail dotter dipped in white polish dot on a line of dots along the top of the red stripe to make the trim of his hat, and make a larger dot on one side for the bobble. 
Step 6-Using the larger end of the nail dotter dipped in white polish dot on the eyes, let them dry.
Step 7-Using the smaller end of the nail dotter dipped in black polish make two dots on the center of his eyes.
Step 8- Using the nail dotter dipped in pink polish dot on his nose


To finish apply a topcoat to seal in all together and your done!

I hope you like my festive Christmas nails, which one is your favorite?
Zoe 
X

My Christmas Wishlist

10 December 2013

Hey Lovelies i've created my Christmas Wishlist, with a few things i would personally love to receive for Christmas. I thought it would be nice to share with you some things I'm lusting after and also it could give you some gift ideas for friends/ family or yourself if you feel like you need a treat...

Babyliss Curl Secret £120-
If your pretty rubbish with hair like i am then you will need one of these in your life! 
This amazing hair tool does all the hard work for you and I'm desperate to get my hands on one. They are pretty pricey thought at about £120 but i think for perfectly curled hair this would be worth the price tag. 

Real Techniques Sam's Picks Brush Set £29.99-
This set contains five of the top Real Techniques brushes all put together in one handy little collection, you get the  Multi Task Brush, Setting Brush, Buffing Brush, Pointed Foundation Brush, Essential Crease Brush, Fine Liner Brush. Its £29.99 which i don't think is too expensive considering the individual prices of each brush, i want it!

Nails inc Message in a Manicure £45.00-
This little beaut is an exclusive Christmas set for Selfridges. 
You get eighteen mini nail polishes, colored polishes, leather effect polish, foil effect polish, red galaxy effect polish, fibre optic effect polish, glitter polishes, a base and top coat and monogram letter transfers all inside the cute letter box how amazing! 

Pandora Pave Heart Ring £50.00-
This ring is just too pretty for words, i'm obsessed with anything that has hearts on so this is right up my street so girly, oh how it belongs on my finger...

Juicy Couture Viva La Juicy £34.00-
I love this perfume i got a sample of it in a Glossybox and every since i first smelt it i knew it would be on my Christmas list. 

Topshop Rebel Mirror 2 Part Sandals £48.00-
How cool are these shoes! I love everything Holographic and i love this style of shoe, these will go with everything perfect party shoes!

Game of Thrones series 1&2 Boxset £26.00-
I know this may seem a bit random as everything else is girly fashion or beauty related but i do love a good boxset, something to keep me occupied in boring January. I was a bit late to the party with Game of Thrones and have only seen series one so far but i was hooked from the start and am desperate to watch the second and third series.


So Santa if your reading this i've been a very good girls this year, pretty please...

Zoe
X


My Top Autumn Nail Polishes!

29 October 2013

Left- Rimmel Black Cherries, BarryM Dusky Mauve, Rimmel Urban Purple, No7 Totally Teal, Nails Inc Jermyn street, Rimmel Princess Pink, Nails Inc Victoria- Right

Hello lovelies, today i thought i would do a post to show you my favorite Autumn nail polishes.
To me when i think of Autumn colours i think of deep reds and purples, burgundy, gorgeous teals and other rich shades, mixed up with a few nudes. Thats not to say when Autumn hits i suddenly discard the bright neon's and pastels i wear throughout the summer months, i just find these are the colours i find myself reaching for.

Rimmel 193 Black Cherries-
This is just my perfect Autumn purple, its a deep rich shade with a very subtle shimmer when it catches the light.

BarryM 313 Dusky Mauve-
This is a really interesting colour it looks different colours in different lights. Sometimes grey, sometimes mauve, with a subtle purple shimmer.

Rimmel 402 Urban Purple-
I love this colour, its a gorgeous raspberry colour, the formulation of this polish is also great, it covers really well giving a great shinny finish.

No7 115 Totally Teal-
This really is the ultimate Autumn shade, every year teal seems to be everywhere come Autumn time. This is a lovely shade and it also a great formula.

Nails Inc 041 Jermyn street-
This is my favorite nude polish, i always get compliments when i wear it. Its great because its not too dark or too light and it goes with whatever outfit of makeup your wearing.

Rimmel 200 Princess Pink-
This is a really pale pink, its not too pink that it would clash with red clothing its very neutral and just a very pretty natural colour.

Nails Inc 388 Victoria-
When it comes to Autumn i love the really dark vampy reds and this one definitely fits the bill,  its such a lovely deep wine red colour, with a great glossy finish.

So thats my top Autumn nail polishes, what are your top nail polishes for Autumn?

Zoe 
X

Ombre Nails Tutorial!

05 October 2013


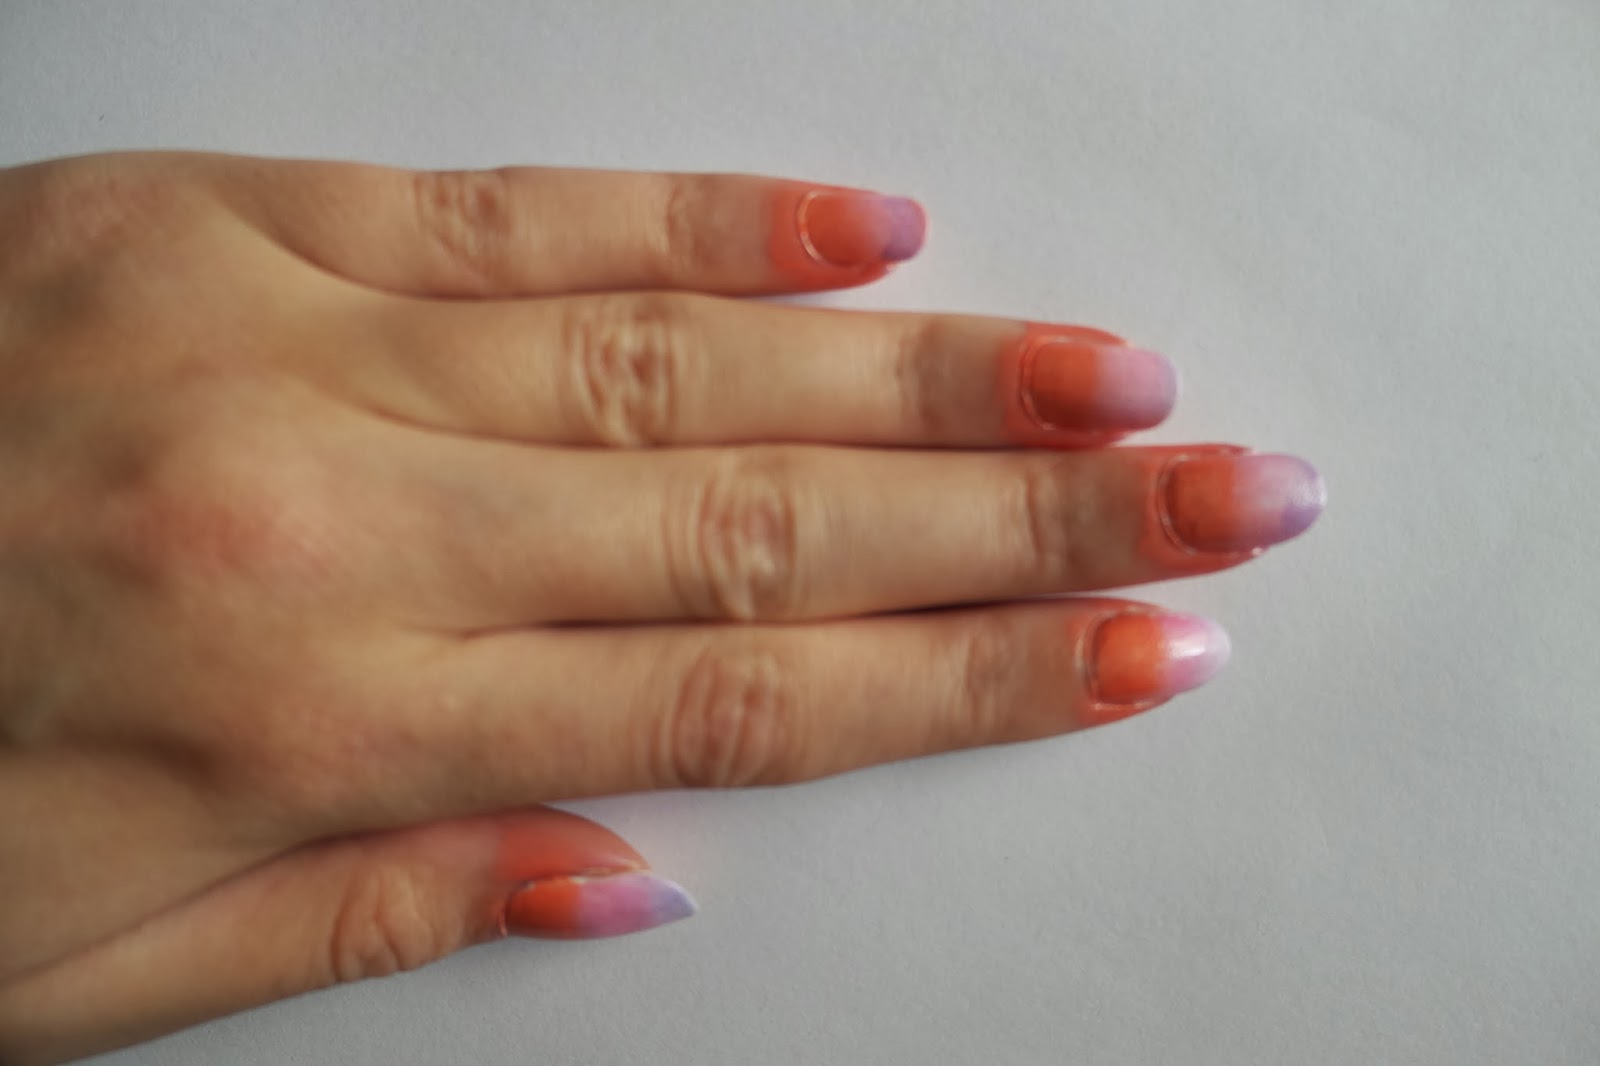
Hello lovely's i've got a nail tutorial to share with you today. The ombre trend has been massive this year in the beauty world ombre nails, lips and even hair. I thought it was about time i had a go at it for myself. I no its Autumn now and i've used quiet summery colours, but as i'm jetting off on holiday on tuesday i wanted my holidays nails to be bright and fun. The great thing about ombre nails is that it will look great whatever colours you use so if you want a more seasonal take on this tutorial you could use red, orange and yellow for a autumnal leaf look. 


What i used-
Base- BarryM, Matt White,
Colours- BarryM, Papaya, Prickly Pear, Dragon,
Top Coat- Nails Inc Kensington Caviar. 
Makeup sponge. 


Step one- 
Using a white base will help make the colours you add on top really stand out, apply two coats for an even base. 


Step Two-
Cut the make up sponge to a smaller square shape to make it easier to use. 
Paint your nail colours onto the sponge in stripes. I chose to use three different colours but you could use two or even four if you wanted. 


Step Three-
Line the sponge up with your first nail and dab it across until the whole nail is covered, re-apply some more nail polish and repeat on each nail. 


Step Four- 
Allow the nails to dry, and then go over all the nails in the same way again with a second coat. 
I only did the two coats of colour but depending on how dark you want it you could do three. 


Step Five-
While your waiting for the second coat to dry, clean up the excess polish from around the nails the best thing for this is a cotton bud dipped in nail varnish remover. To finish apply a topcoat to seal it all together. 

 I hope you enjoyed this tutorial! What colours would you use?

Zoe
X

Nails Inc Bling It On Romance, Review and Tutorial

25 July 2013


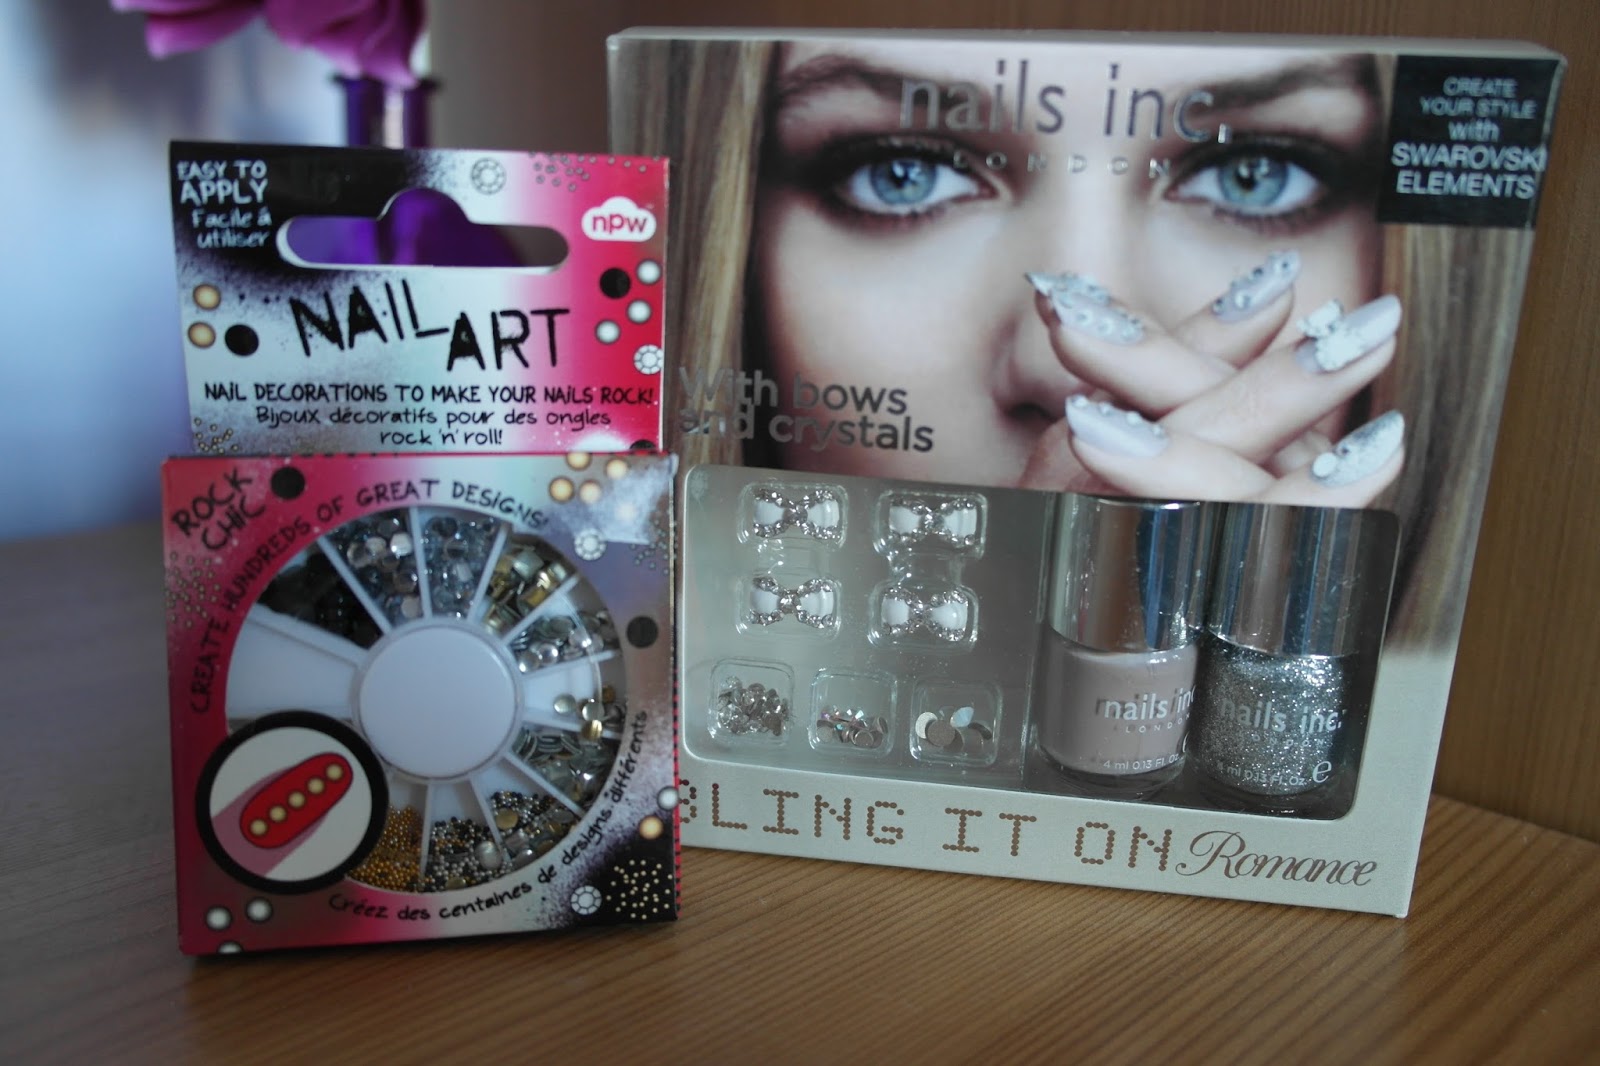
This Nails Inc Bling it on kit, was one of the beauty items i featured in my last months beauty wish list, and when i got payed i treated myself to the little beauty. Im going to show you how i chose to use it followed by a short review.


What you get-
  • 2x 4ml nail polishes, colours porchester square and electric avenue,
  • 4x bow embellishments,
  • (aprox) 50x crystals - swarovski elements
  • nail glue 3g
  • 2x cuticle stick

Step one-
I used the colour Porchester square as my main base colour, i don't even no how to describe the colour browny/taupe?? i don't no, anyway i did two coats of that on all nails leaving my index fingers bare.


Step two-
I applied three coats of the silver glitter Electric avenue to my index nail.


Step three-
I applied a little bit of glitter around the base of the ring finger nail.


Step four-
There are three different sizes of crystals, i chose to apply them just to my thumb nails going up the nails from the largest to the smallest. To apply the crystals i applied a small blob of glue directly to the nail, where i was putting the crystal, to easily pick up the crystal dip one end of a cuticle stick in clear nail polish then pick up the crystal from the top using the stick and apply to the nail, hold it down firmly for a about 10 seconds.


Step five-
To complete the look i added one of the pretty bow embellishments to the nail on my middle fingers. To add the bow i put a small amount of glue on the back of the bow and then using tweezers i placed it down on the nail and held it there for about 60 seconds until it felt secure.


The finished look.......

I really love how my nails turned out i think there so pretty and they were really easy to do. I was so impressed with this fab little kit, i love the nail polish colours and the  swarovski crystals and bows are not only really pretty but are good quality. The Bling it on Romance kit is £25 which is quiet a lot but you can reuse the crystals and bows as long as you don't lose them so you can redo the look to get your moneys worth. I was impressed with how long the bows stayed on my nails for i thought i would catch them and rip them off pretty quick but five days later they were still going strong even after catching them a few times so the glue must be pretty good. I look forward to using this kit again and seeing what different looks i can create!
You can buy the Nails Inc bling it on Romance kit here
What do you think of my final look? I love to read your comments, and i will reply to any questions asked.

Zoe
X

Beauty Haul //1

10 July 2013


I would describe myself as beauty obsessed, i talk, write, read and dream beauty! So when pay day comes i love nothing more than spending some of my well earned pennies treating myself to lovely new products to try out and play with. This rather large and naughty haul was the result of a couple of trips to Boots and Superdrug and yes i may have gone slightly overboard with the nail products, but as you will no if you read my blog i love doing my nails, and it means i will have more lovely nail posts to share with you...yay!! 
So on to the good stuff......


Nails Inc Bling it on Romance-
I was so excited when i spotted this beauty in boots, this was on my previous wish list post, i had been lusting after it for a while so i had to add it to my basket! This was £25.00 in Boots.... expensive for what it is but what can i say its sparkly and pretty and i needed it in my life!

Nail Art nail decorations-
I spotted this in Urban Outfitters in the sale, its got lots of different studs, beads and stones for the nails and i am looking forward to using them. It was £3.00

Real Techniques Stippling brush-
This brush was also on my wish list, i tried it for the first time yesterday and i really like it, gives a lovely  finish. I bought it from Superdrug for £10.99, slightly cheaper than it is in boots.


Models Own Nail Art pens-
I already have two of these in black and white and i thought i would pick up a few more, so i got the Silver, Pastel Green and Pastel Lilac. These are £6.00 each but were 3for2 in Boots at the time which is why i got three.... yes i am blaming Boots!!


Benefit World Famous Neutrals-
This is my favorite of the lot! I am in love with this wonderful little kit! You get two Creaseless Cream shadows in the colours birthday suit and my two cents, and four Long-wear Powder shadows in, call my buff, kiss me I'm tipsy and gilt-y pleasure, love the names! I think this is a great little kit the colours are all amazing. This was £23.50 which i think is a good price for what you get, there is also two more eyeshadows kits a easiest nudes ever and sexiest nudes ever and i would love to collect them all.

Benefit Stay Flawless-
A lovely lady at the Benefit counter gave me a sample of the new Stay Flawless primer to try, i have only used it once so far but i like it, think i will test it a few more times before i go and buy it.


Tresemme Platinum Strength-
I featured this Tresemme conditioner in my june favorites, i think its a great conditioner so i picked up another bottle and also got the shampoo to try out. They are £4.99 each in superdrug but they are massive bottles that last ages. 

St Tropez Bronzing mouse-
This was another item i put on my beauty wish list, like i said before its an expensive fake tan but i have been dying to test it out and see if it lives up to the hype so when i spotted this mini sized one in Superdrug i grabbed it right away, especially as it was a 1/3 off so i got it for £6.59!


BarryM nail polishes-
I love the BarryM nail Gelly's so i picked up a few new colours, Greenberry, Papaya and Guava. I also needed a white for some nails looks i wanted try so i got the Matt white which is a normal nail paint and i got the limited edition neon pink colour free. The Gelly's are £3.99 each and the nail paint are £2.99. 
So that was my naughty beauty haul, i am looking forward to trying everything out properly. Has anyone tried any of these products? what did you think of them?

Zoe
X

Notd, Pink Hearts and Glitter!

08 July 2013


White- BarryM Matt white,
Silver- BarryM Foil effects,
Bright pink- BarryM Gelly high shine Grapefruit,
Light pink- Nails Inc Elizabeth street,
Pink glitter- Revlon Sparkling 261,
Silver glitter- Rimmel Disco ball,
Top coat- Nails Inc Kensington caviar.

Just a short post to share with you the result of my latest little play around with my nails, I fancied something girly and sparkly and I think you will agree they definitely fit the bill! It's the first time I've attempted to do hearts and I dnt think there too bad for a first attempt. Let me no if you like them, and maybe il have a bit more of a practice and maybe do a tutorial. Please comment I love reading them! 
                              
                                                                            Zoe
                                                                              X
             

My Current Beauty Wishlist!!

26 June 2013

This is a list of the current beauty products i am lusting after and am hoping to add to my collection...
 
1-Real Techniques Core collection brush set
I already have a couple of Real techniques brushes and am hopeing to add a few more to my collection, this set contains the pointed foundation brush, buffing brush, contour brush and detailer brush.

2-Vera Wang Pink Princess
How amazing is this perfume bottle!! Thats not the only reason i want it of course... i have smelt it and i also love the smell.

3-Urban Decay De Slick
I have been wanting to add a setting spray to my make up routine as i have oily skin, to make it last longer. I have heard good things about the Urban Decay ones and would love to try one out and see if they really do work.

4-Ren Glycolatic Radiance Renewal Mask
There is such a buzz around this product and im dying to try it out for myself to see if it lives up to the hype.

5-Real techniques Stippling Brush
Along with the brushes in the core collection kit i really want to try the stippling brush, i have seen it used in tutorials and it seems to give such a nice finish.

6-Nails Inc Bling it on Romance 
I have been lusting after this for a while now, it just looks so pretty i love the colours and the pretty bows.

7-St Tropez Self Tan Mouse 
I have been using the same fake tan now for about two years and i feel its about time i tried a new one, St Tropez has always put me off before because its quiet pricey and i would hate to splash out and then end up a streaky mess, but it is well reviewed and so i feel i may just have to take the plunge.

8-Stilla Kitten Highlighter
 Ive seen one of my favorite beauty you tubers shaanxo using this in her videos and i love how it looks and really want to try it myslf.

9-Nars Blusher 
I do not own any Nars products...yet! And i think one of there blushers would be a great place to start.

10-Nails Inc bling it on Denim and Studs 
As with the Nials Inc Romance set, ive had my eye on this for a while i love the idea of denim look nails and really want to try it.

So thats the products im lusting after, has anyone tried any of them? What did you think?

 Zoe
 X

Pretty polka dot nails!

14 May 2013

This is just a quick post to show my current notd and how i did it.
Polka dot nails!
I love doing my nails, and trying out different colours and practicing different patterns and nail art.

The kit
I painted my nails with with two coats of Topshops nail polish in parma violet, and then using a nail dotter i applied the dots which in a Nails Inc polish in the colour wellington street. I bought a set of nail dotters of ebay but before that used to use the end of a small make up brush, you can also use a hair pin. After the polish has dried i applied a topcoat i used Nails Inc kensington caviar topcoat.

Zoe 
x
Related Posts Plugin for WordPress, Blogger...